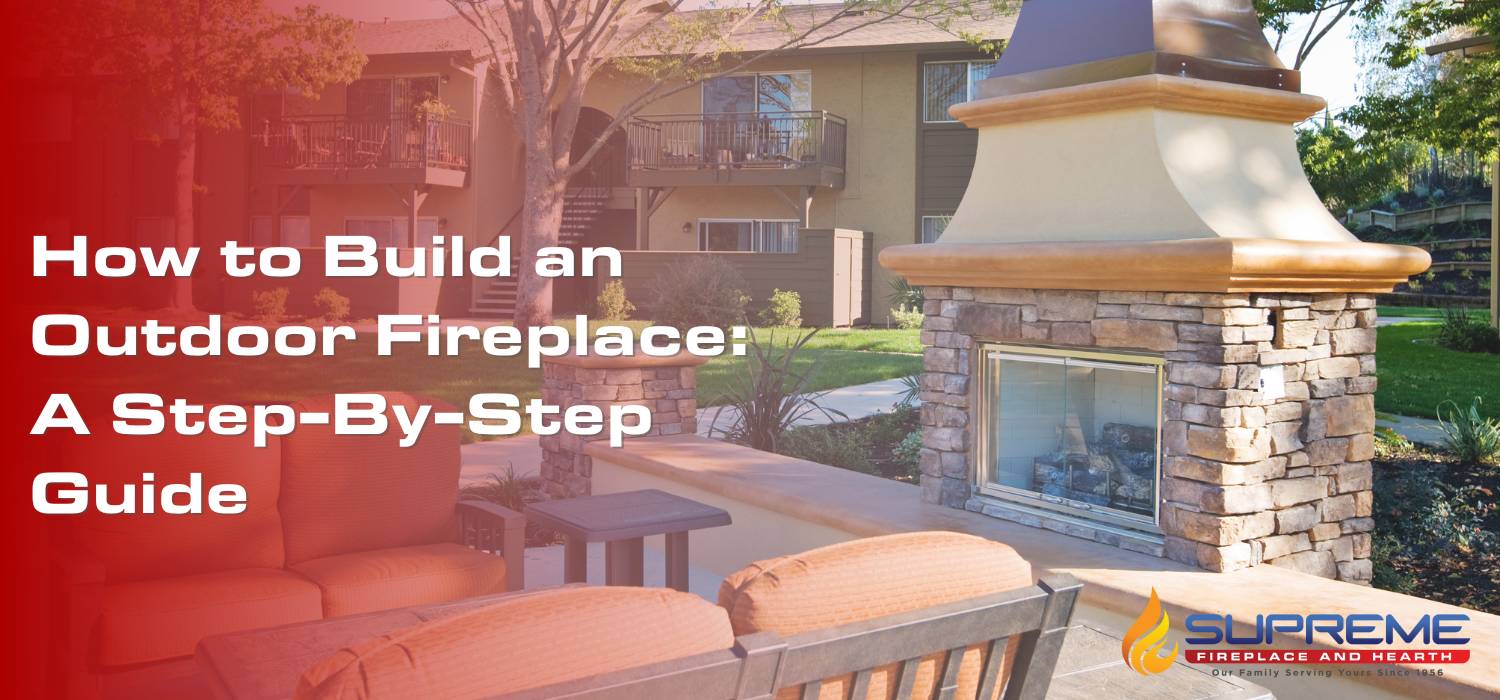
Wondering how to build an outdoor fireplace? Outdoor fireplaces can be a charming and fun addition to any home. It’s a great way to make your patio or backyard the perfect place to entertain or just relax.
Before you get started with installation, you need to understand the regulatory and laborious steps that go into building an outdoor fireplace for optimal functionality.
Below, we lay out a step-by-step guide for building your outdoor fireplace this summer.
How to Build an Outdoor Fireplace
1. Check Local Codes
First, check both state and local codes/restrictions for outdoor fireplaces. These are typically as simple as meeting clearance requirements for structures and property lines.
However, you might need to add a spark arrestor. Open fires could be banned, so make sure to check with your local municipality to ensure that you build a compliant fireplace that follows local regulations.
2. Write Down (and Follow) a Thorough Plan
Go to your designated building area and ensure that you have the right amount of space. Are you going to use wood or gas logs? Do you need extra chimney clearance?
Ask yourself these questions now, so that you won’t be scrambling to find a solution later.
3. Make Sure You Have Proper Tools
The tools you’re going to need include, but are not limited to:
- Dead Blow Hammer
- Hammer
- Caulk Gun
- 4 Foot Level
- Torpedo Level
- Square
- 2 Ladders (6 foot Minimum)
4. Start Building Your Fireplace
After completing proper preparation, it’s time to start building your fireplace!
Below is an outline of the basic steps to take:
Lay Your Foundation
As you lay your foundational blocks, start from the center. This is because the middle of the base aligns at the middle of a full block, and will help you center the fireplace for the best placement.
As you construct your kit, make sure to keep it all level, square, and plumb, using a four-foot level. Remember, you need to start on a level foundation.
When gluing blocks together, steer clear of using too much adhesive—this will cause the blocks to “swim,” or slip from one another. Using just a little bit of glue is ideal, since the gravity of the blocks will hold the fireplace together; the glue is just extra precaution.
Build the Firebox
The firebox is the heart of the fireplace. Be sure to keep your box level, and build from the outside corner.
Firebox construction is fairly simple. There are only two main features to keep in mind when building:
- It’s lined with firebrick
- It has an opening which will require a lintel; a beam placed across openings like doors or windows in buildings to support the load from the structure above.
Build the Smoke Chamber
After the firebox is complete, take a break and allow the glue to fully dry. As you build the smoke chamber, rack the block in approximately 2 inches from each side and about 4 inches from the front.
Keep the back wall of the fireplace vertical while racking the block in approximately 2 inches from each side. Also, use a straight edge to keep your runs as straight as possible.
Build the Chimney
Constructing the chimney is a fairly simple yet tedious process, you need to stack your blocks while ensuring everything stays level and square. The chimney is the same size all the way up, which eases the construction process.
Add the Finishing Touches
Finally, you’ll need to add finishing blocks. These blocks are light and small, and are used for trimming the top of the chimney to create a mantle.
Glue the trim pieces down so they’re secure, as they are the only block that isn’t locked into place.
Contact a Supreme Fireplace Expert Today
If you’re considering the addition of an outdoor fireplace for your home, contact the professionals of Supreme Fireplace & Hearth today by calling (812) 234-4845 or by filling out our online form.
We handle all things fireplace, from installation to masonry and even inspections!

